Hey looks good so far, studies are really fun (and since it's a study I don't know if you were aiming for a 1:1 reproduction or just getting your feet wet) I'd encourage you to play around with the settings on the mixer brushes, and maybe getting a hold of some blending brushes so you can soften nicely when you need to (the balance of crisp lines on the edges and fuzzy stuff is mm, love it) I tend to go back and forth between a painterly brush and then softening and blending with a blendy brush (and I just lost my blendy brush--long story--so I'm hunting for it in my pile of like 600 brushes and when I remember the name I can...get back to you but...luckily there's a lot of blenders in this world to play with)
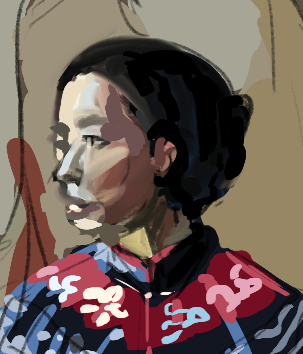
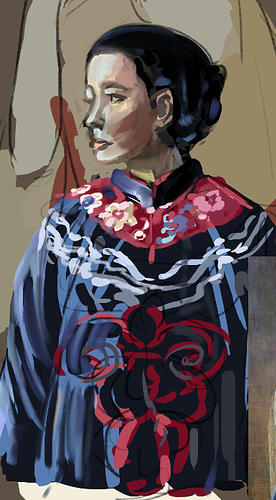
But for now it looks like you're blocking in color and placement of values nicely. I'd keep an eye on anatomy so it doesn't get away from you (we all have a tendency to widen the face as we paint so you have to adjust to fix it) and to also keep an eye on saturation of colors in the face, you have a lot of saturation in the left when it's actually more subtle, the shifting of saturation--the intense redness and yellow light sits mostly next to the core shadow.
What can help for rendering especially small details is to bump up your DPI and your page size. I tend to paint at 300 dpi 8.5 by 11 in to start, but then when I am satisfied with the block in, I ramp up that DPI to 600 and then I will also make the page size up to 15 inches. This also helps with prints later since it's easier and better to scale down than up.
But especially for itty bitty details, you can't have as much painterly fun with an itty bitty brush (you probably noticed) everything just looks like a 1 px liner (and the only artist I know who wields a 1 px liner is Tracy Butler from Lackadaisy cats, and no one else needs to live that life. She did it so we don't have to)