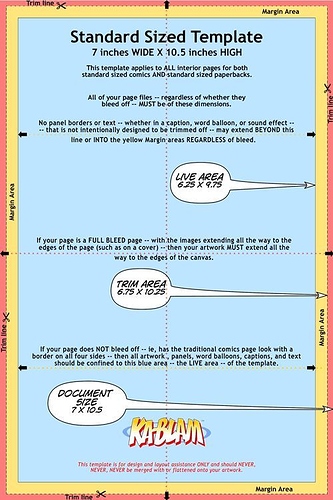
For printing it's really important to understand bleed, and the difference between bleed and trim. In the image a couple posts above, the red area is the bleed. This is the part that gets cut off. The purpose of bleed is to keep your pages from having little white edges. If the edges of the pages are white to begin with, this doesn't really matter, but for your pages where you have panels that go all the way to the edge, you're going to want to make sure the artwork goes into the bleed. I hope I'm explaining this clearly! This is just the first image off of google but I think it illustrates bleed pretty well:

So basically, ink is printed farther than you need the image to go, so that when it gets trimmed to the proper size, ink goes all the way to the edge of the page with no awkward margins.
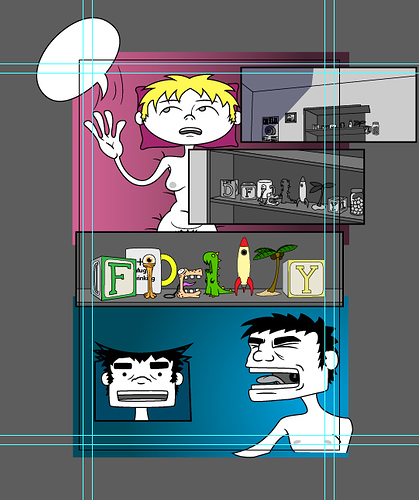
The trim is where the page is trimmed to, so that's everything except the bleed. Since things can shift slightly during the printing and cutting process, there's also the safe area (or live area, as it's labelled above. That's the blue section). So your finished pages are most likely going to be both the blue and yellow areas, but anything inside the yellow area runs the risk of being cut off with the bleed, so printers will ask that you keep any text and other important details inside the safe/live/blue area.
So if you're serious about printing, you definitely want to look into what printer you want to use and what their specifications are so you can format your pages correctly. If the area outside your panels is white anyway, you shouldn't have many problems (you just may need to increase your canvas size to add the bleed around the page) and for the panels that run off the page, just extend them to the end of the bleed.
Sorry for being so long winded! Hopefully this made sense and helped answer your original question... Bleed is a really important aspect of printing that can be easily overlooked, so I want to make sure people understand it!