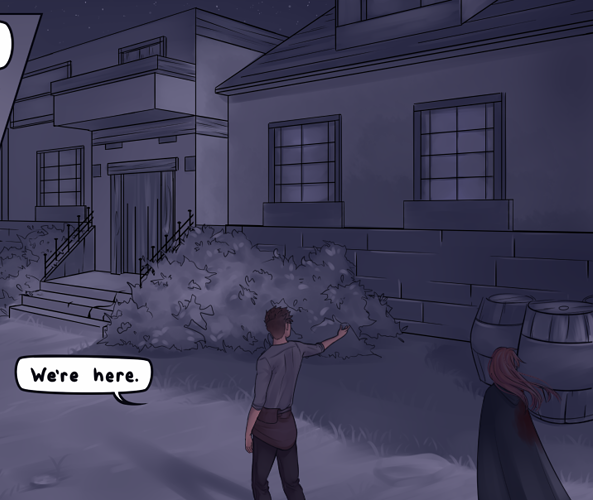
In my case, Perspective is mostly about dealing with depth and showing the background, middleground, and foreground in the works, as shown before.

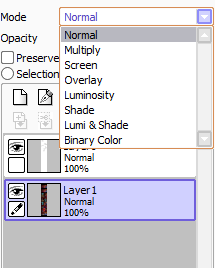
I use Paint-SAI for my comics, which has the modes such as "Normal", "Multiply", "Shade", "Overlay", and "Luminosity". This helps change the setting of a color against other others. There's also an opacity tool right under (it's being blocked by the drop down tool). With this, I can change how dark or light the shadow is once I've got the right look.
Combine with these, I use shadows to demonstrate depth and separation between the layers in a setting. I make these shadows, using the blur tool or the special pens I've made.
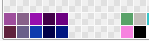
I also recommend having a strong set of colors that you'd use as your overall shadow method. For me, I use a different array of purples and blues, with some gray:
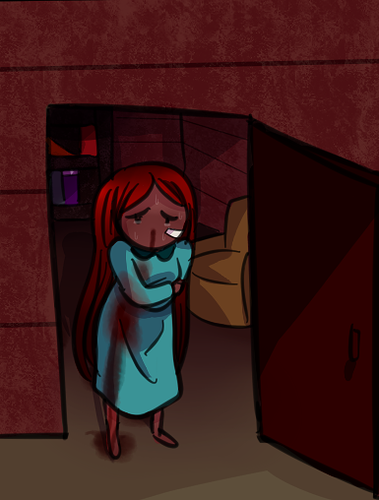
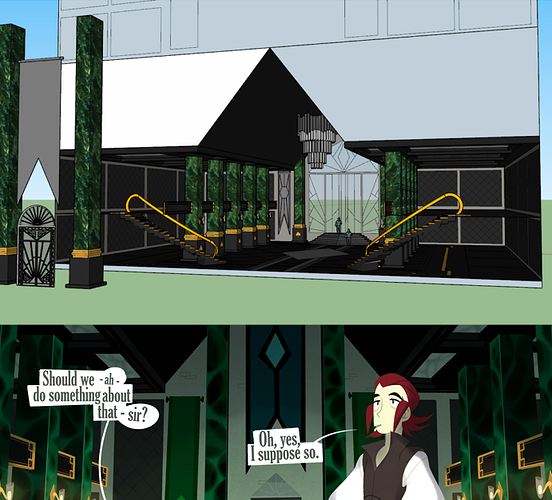
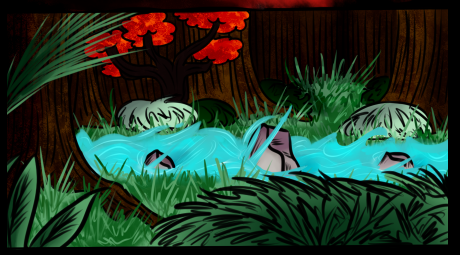
The result of doing so leads to this:
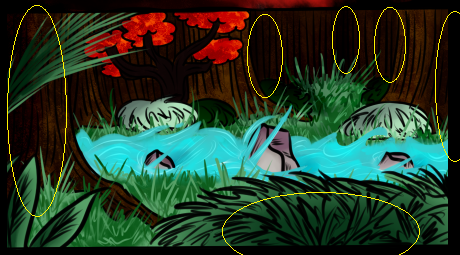
Now, I've circled the parts that lead to more depth. This is where I use both those modes and the blur tool. For this particular one, I used the mode "Multiply" with a light purple. Then, I used the opacity tool to find the right brightness. Once I did that, I blurred the shadow to create the idea that there was more hidden behind.
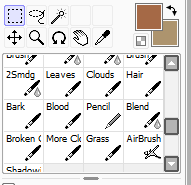
Another thing do is use the Select tool. In Paint-Sai, there are four types of ways to use it: "Rotate", "Transform", "Scale", and "Free Deform"
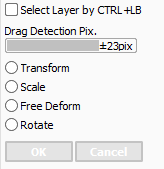
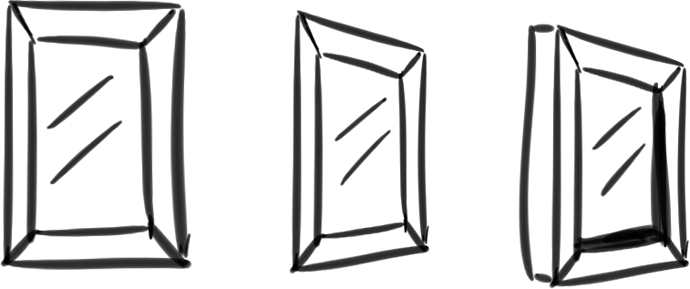
"Free Deform" will be your best friend. This is where you can get different types of perspectives. The key is to draw the object one-dimensionally and then change the perspective. Then, you can add 3D-effects. Here's a quick example:
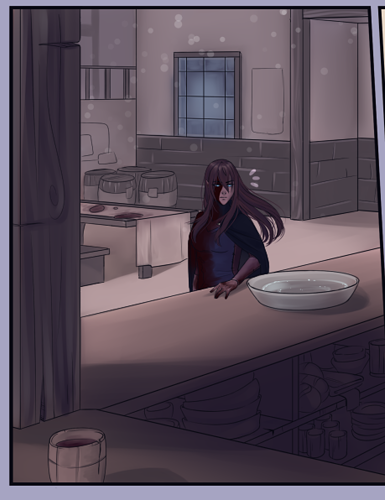
I drew a simple little window. But, using the free deform tool, I changed its perspective. Then, I added more 3D effects to make it pop out. I've also used it, combined with my color tip, below:
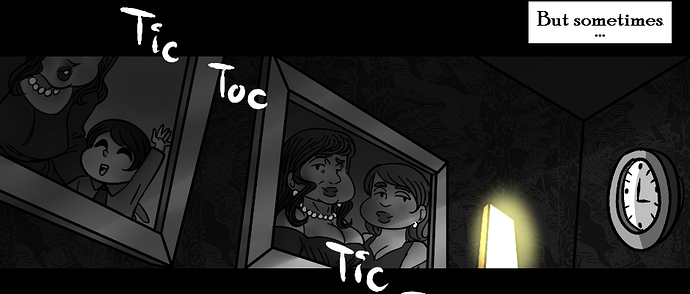
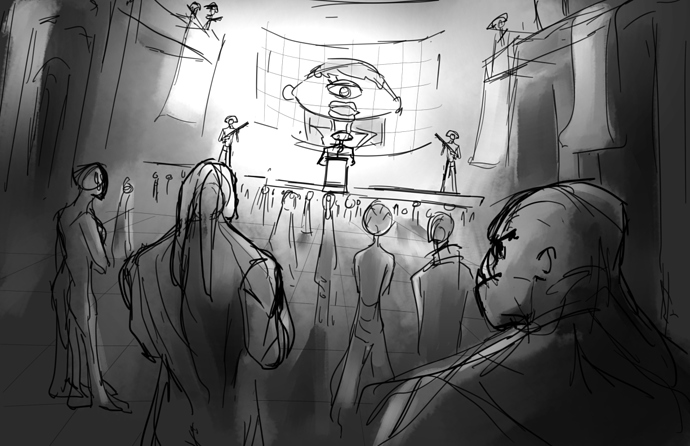
And I keep doing those tricks to produce things such as this:
I will say that knowing a bit of perspective lessons can definitely help you. Having the tricks and tips is cool, but knowing how to apply them makes them that much easier!