I use a looot of italics in my writing. It's totally my One Weakness. Along with adverbs. And cliches. And math.
After typing out about 16 chapters in Word, I thought I was ready to start posting. And that's when I discovered that the italics do not get copied over in Tapas. I was about to despair when I found this post where one user posted a tutorial on using Inspect Element to correct one tag. Well, I tried using it for posting my entire chapter, and it worked like a charm! I just thought I would share.
Caveat: I have no knowledge of programming whatsoever, so I'm sorry if I can't answer any in-depth questions. All I know is that this worked for me. Without further ado:
--
How to Copy-Paste From Word and Keep Your Italics and Bold
-
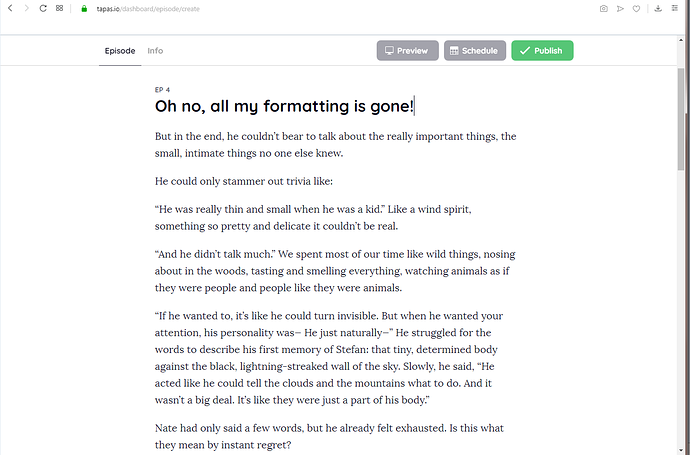
STEP 1. Be momentarily dismayed at the loss of all your formatting. Think to yourself: Do I have to go through this again and manually italicize everything?! Crying optional. (╥_╥)
-
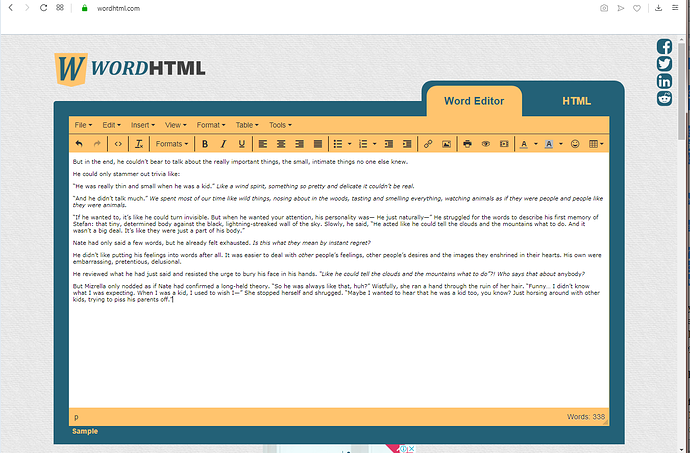
STEP 2. Chill and leave tapas for a moment. Copy-paste your chapter into one of those websites where they turn your rich text format into html code. Here, I used the website wordhtml.com
-
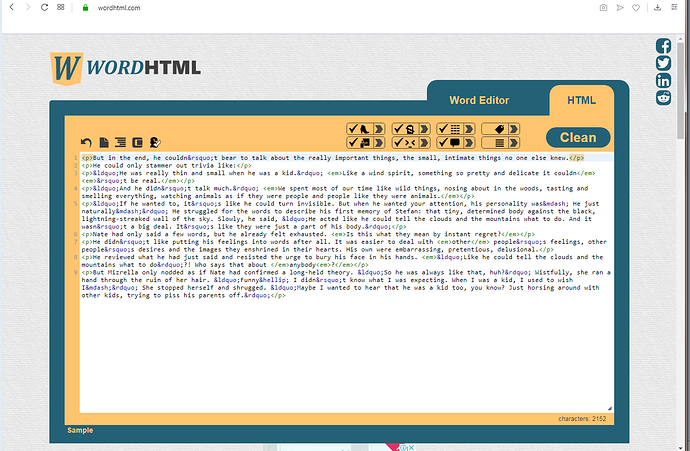
STEP 3. Click the "HTML" tab and view the code. It looks like there's some weird stuff in there, but don't mind them. You'll go back to this screen later.
-
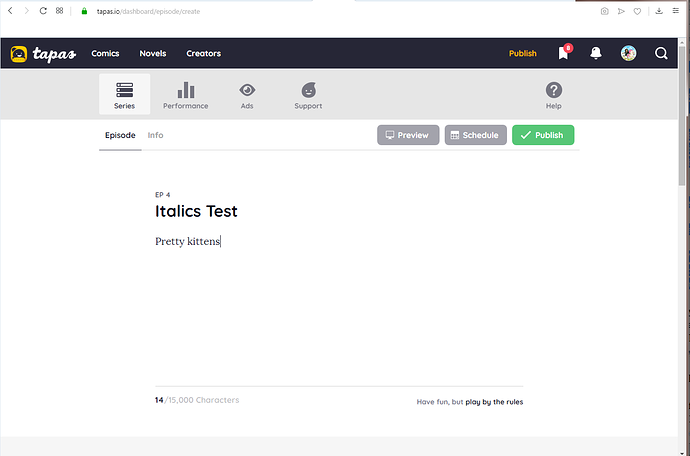
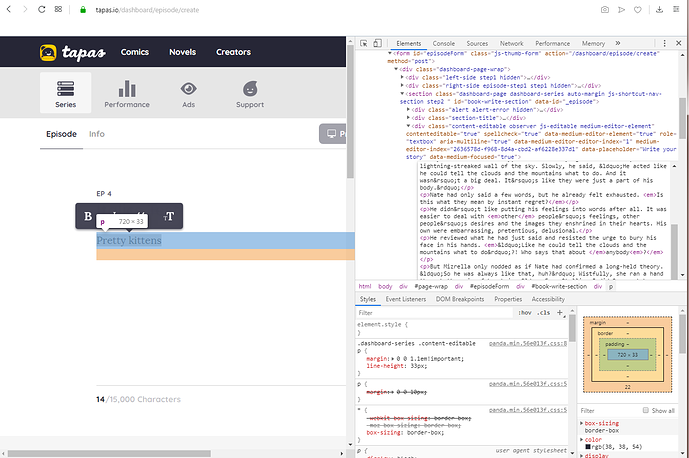
STEP 4. Go back to tapas and write a sample text in the textbox. I wrote "Pretty kittens" because when my mind is blank, it defaults to pictures of kittens. But yours could be edgier than that. Anything's fine, just keep it short.
-
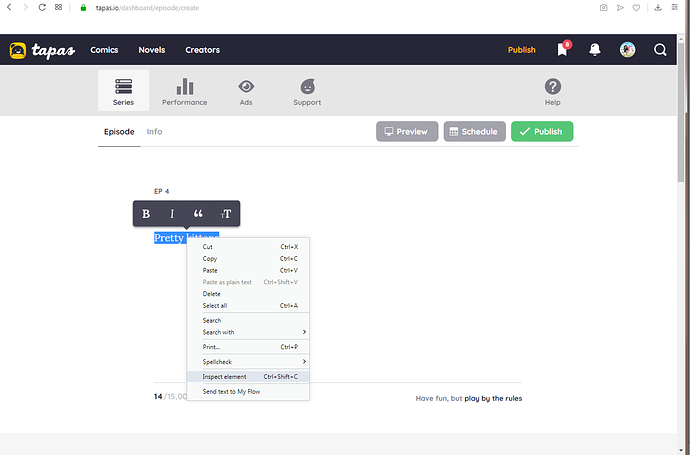
STEP 5. Highlight your sample text, right click, and choose Inspect Element. I'm using Opera, but this should work for any browser. I think?
-
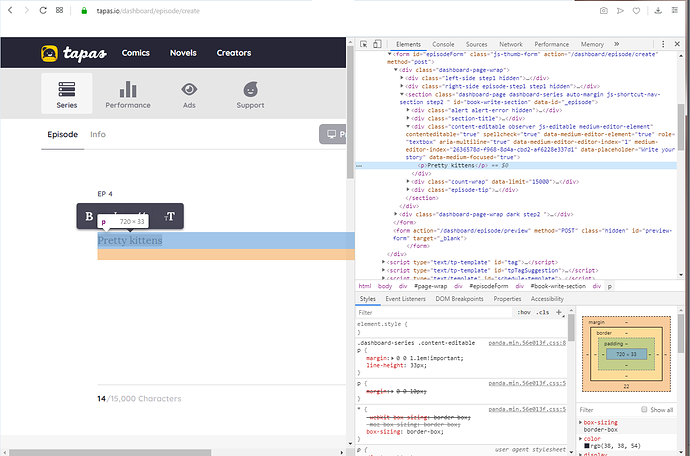
STEP 6. Find the line of code for your sample text. This should be automatically highlighted. Don't touch the other lines of code. They might explode.
-
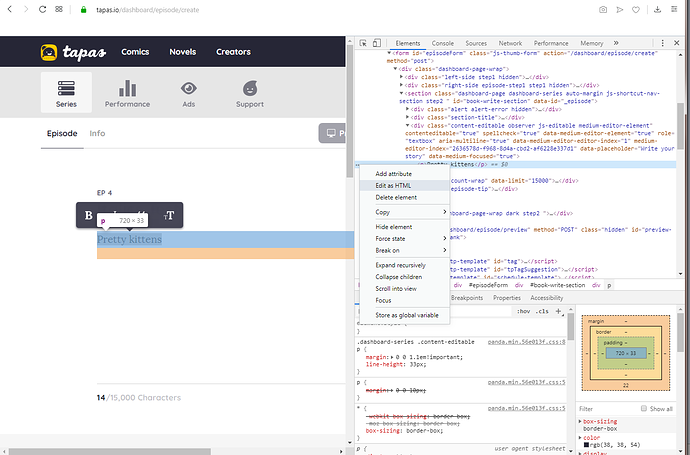
STEP 7. Click on the three dots and select "Edit as HTML" or whatever the equivalent is for Chrome and Firefox.
-
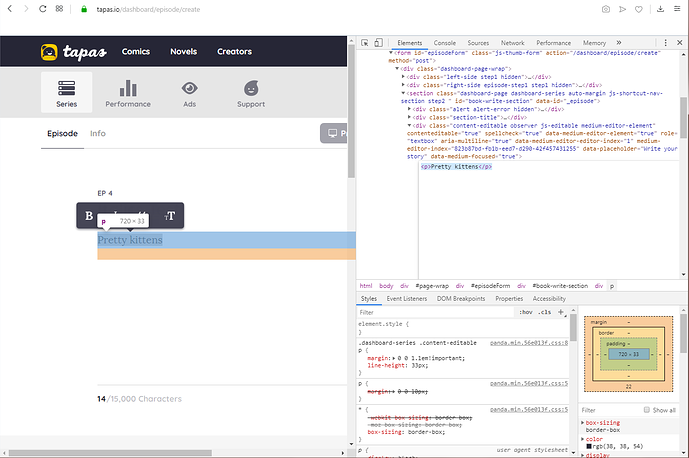
STEP 8. Now, you'll be able to edit your sample text. Delete it, including the tag, so you'll have a nice, blank textbox ready for your real chapter.
-
STEP 9. Go back to the website where your chapter is and copy the weird code-salad there.
-
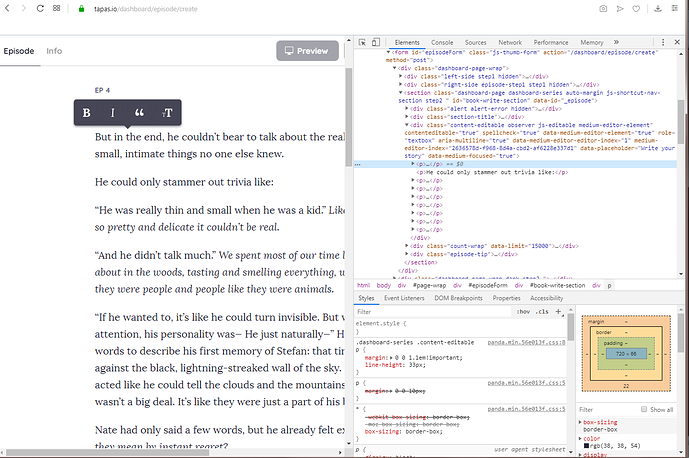
STEP 10. Go back to tapas and paste the code into the nice, blank textbox. You won't see the changes immediately, but don't worry.
-
STEP 11. Click any bit of white space to leave the textbox. Suddenly, your chapter will appear in its fully-formatted glory!
-
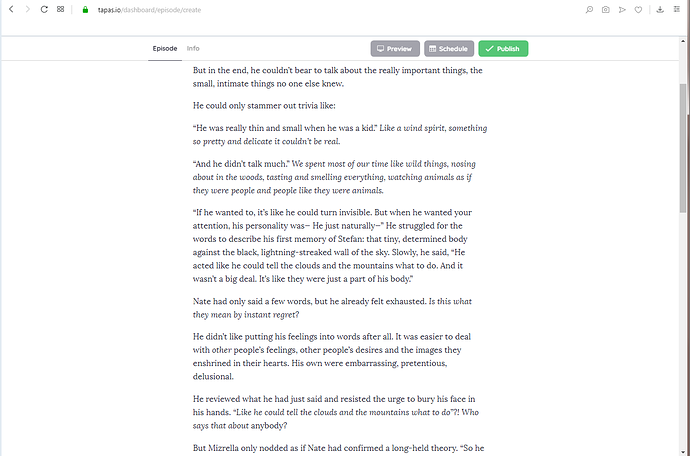
STEP 12. Do a quick scan to double-check. Out of three chapters uploaded this way, I've found one mistake so it's only 99.9% accurate. But this is still better than manually italicizing line by line.
-
STEP 13. EDIT Thanks to nostalgicroxas. Make sure the Inspect Element section is closed. The screen should be your regular uploading screen, like in STEP 12. Then hit "Publish" and celebrate!
°˖✧◝(°▿°)◜✧˖°
I hope this was helpful for someone! I know it might seem awkward at first, but it's pretty quick once you get used to it.