11 / 14
Oct 2023

Literally what do you do to render your art?
If there was already a thread like , I'm sorry; but I need
something to be able to reapply pictures without having to tediously try to erase the background...

I have a app that CAN do this technically, but if I try to use the picture after it's edited the white reappears back around whatever was rendered...

  • created

    Oct '23
  • last reply

    Oct '23
  • 13

    replies

  • 852

    views

  • 1

    user

  • 19

    likes

  • 1

    link

What do you mean by rendering here?
It sounds like you have a lineart and the background as a uniform layer? Do you scan your traditional inks?
Usually one draws lineart on a separate layer in a program and that's it, it doesn't have a background to erase.
Depending on a program and a picture you can put inks on Multiply mode and the white bg will not be visible.

If you want the white background gone you have to export your file with your background transparent. If that's what you meant.

And if it's still not transparent after importing then you probably didn't export it in the right export settings.

I don't know what app you're using but a little more context would help. I mean, even then I wouldn't be able to help but I'm just giving advice based on my experience. It'll help people understand your situation better, probably.

Sidenote, phones or tablets can make a transparent background white again, I just now have that flashback to when before I had a drawing tablet. If that's the case then... Good luck. : []

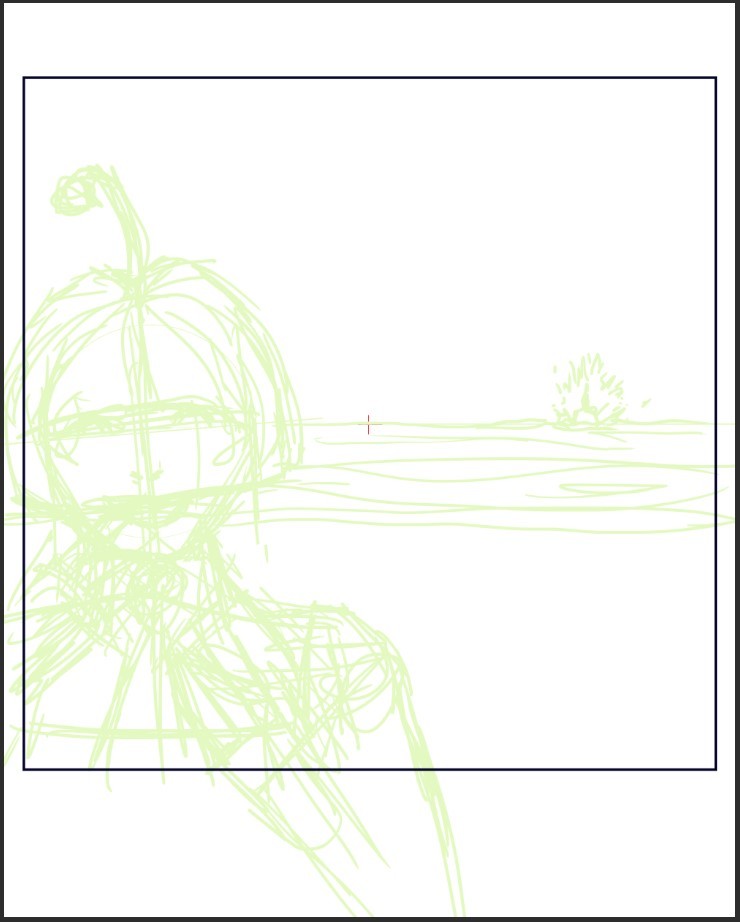
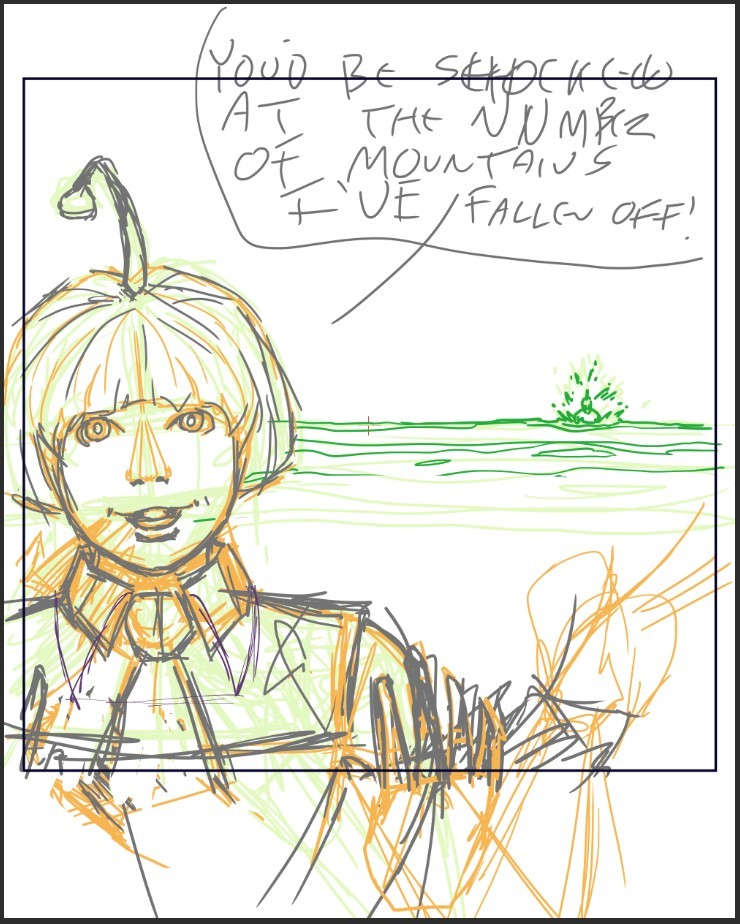
I do my backgrounds on a separate layer. If there is more than one character in the scene and they overlap at all (ie they’re hugging, fighting, or just one standing in front of the other) I will do each character in their own set of layers. In fact I usually do a layer for sketch, then first ink & basic colour, then final ink & colour, and then finally the background (I used to do the background first but discovered it’s easier for me to do the scene, then do a background around it). I will often do several layers for the background to achieve different textures, but once finished I will flatten all of the background layers into one. If there are any effects (like lighting, shadows, or magic) that gets its own layer as well.

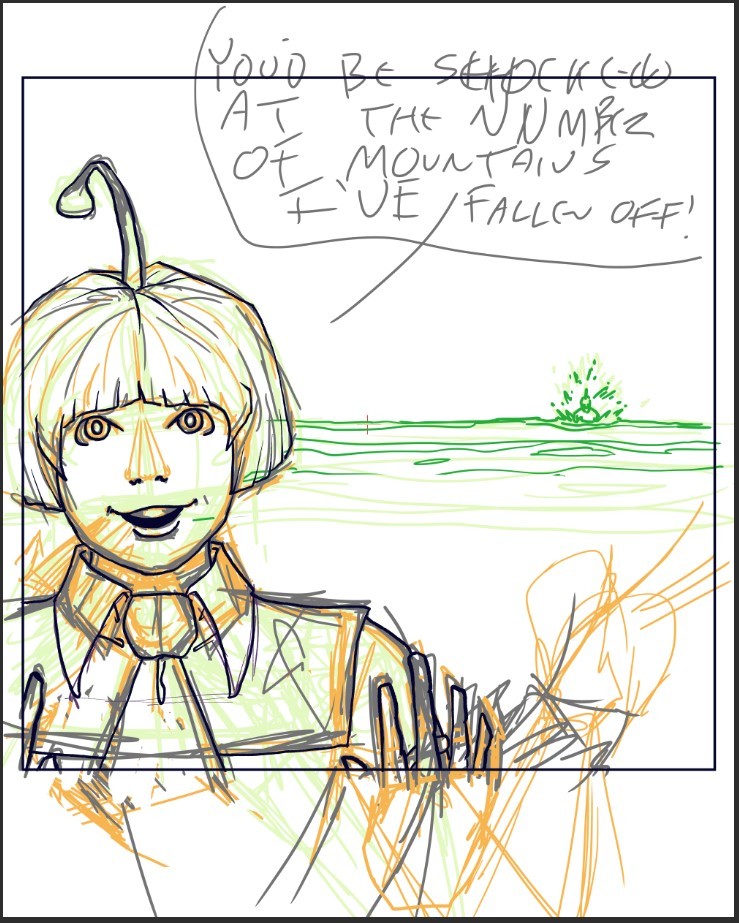
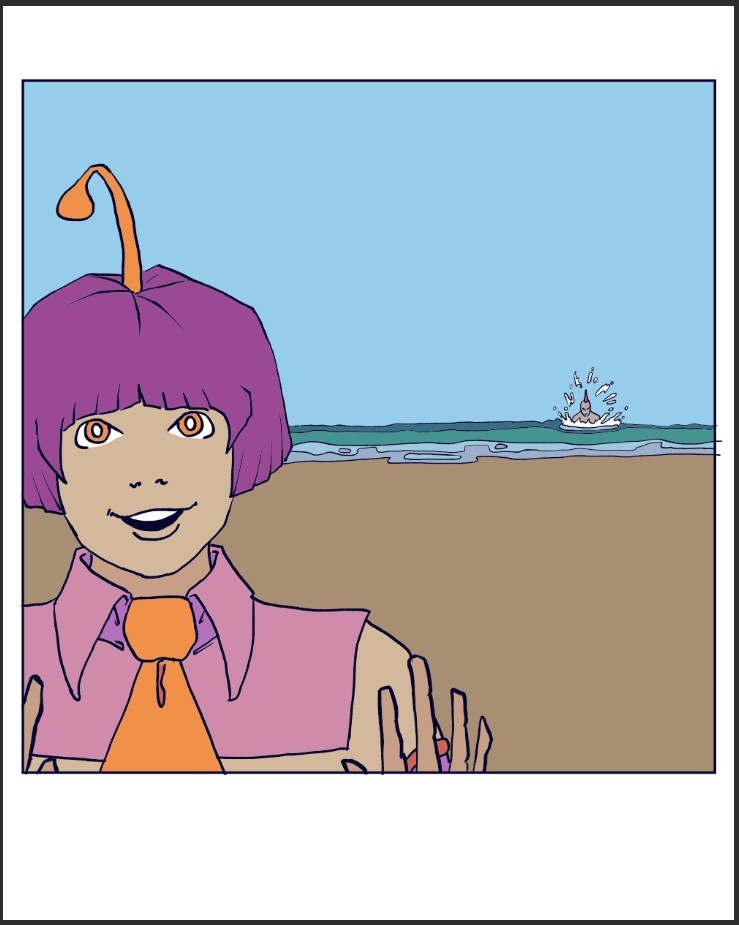
Once the drawing is finished I simplify the layers: I’ll delete the sketch and first ink/colour, merge the character layers together (unless for some reason I think that I might want to use one of those characters elsewhere, then I’ll leave them separate), and merge any background/effects layers. This usually leaves me with a 3 layer drawing, which I save in a raw format for archiving (.KRZ using Krita). After I do this, I then flatten the whole thing into a single layer and save as a PNG for uploading.

I should also point out that my original drawings are HUGE, typically 5000-10,000 pixels wide. I like having a big canvas and I like adding lots of details. This makes for huge file sizes (sometimes approaching 500MB). Even flattened and compressed into a PNG they can be bigger than 50MB. Storage is cheap, though, so I always save them in their original sizes. I then reduce their size down to Tapas-friendly dimensions (940 pixels wide) and save them in a special folder (simply named “Reduced”), and I upload them from there.

I should also point out that if it’s just removing a solid background colour such as white, open the image in Krita (it’s free), select the “eraser” brush, select the “flood fill” tool (looks like a paint can), and click on the background. It should become checkerboard, meaning that it’s now transparent.

If any parts of your image that you didn’t want to go transparent do so, hit “undo”, then go to “tool options”. The “threshold” bar should be at 50, meaning that any pixels within 50 “shades” (for lack of a better term) will be “painted” with the flood fill. Slide this down to 25 and try again. If only the background disappears this time you’re good. If you still lose part of your drawing, hit Undo again, lower the threshold further, and try again.

Ideally you want the threshold to be as high as it can be while preserving your drawing - this will give you better “edges”. If your threshold is too low you’ll end up with an outline around your drawing similar to the background colour. This will be noticeable if you try to use that drawing on a dark background.

You may. Which app do you use? I can recommend you better ones too, if you want.

I would recommend switching if possible, judging by your trouble it will make your life easier :slight_smile: Krita is a really good one and it's free. There's also CSP, and of course Photoshop, but they are paid options. I think people are also using Medibang for free, but I don't know how good it is ^^

This is the app I use

And it's incredibly simplistic: no layers, just a handful of basic tools.

Besides "Free Paint" everything else doesn't simply let you draw, so it's a little annoying

The only reason I'm still using it is because it's easy to make copies of a single picture. I used this when making "MEGAMIX" to do some of the animations...
Which had to be done on a different app

It seems you are using a phone or something similar to draw. For that, I would recommend Autodesk Sketchbook, Artflow, or Ibispaint.
I haven't used Autodesk in many many years, but my girlfriend uses it to doodle on her phone, and it seems like a decent program.
Artflow has a very easy to use copy-paste tool, and is very easy to use. I don't remember if you have to pay or not, but if so, it was cheap enough that 12 year-old me could buy it on my own.
Ibispaint is by far the most powerful of the three, but it takes up a lot of space and has a lot of pay-to-use features (but they're only like 5 dollars each). I use Ibispaint mostly to draw my comic.

If you wanna animate, Flipaclip and Rough Animator are both great options.

if you're working from a mobile device and looking for apps that provide layer functions i can recommend medibang paint, ibis paint or flipaclip if you want something that also has animation functionalitiy

Step 1 - Layouts

Step 2 - Figure/ foreground & background construction

Step 3 - Line work and corrections

Step 4 - Finishing the line work

Step 5- Getting out the crayons

Step 6 - Getting ready for the internet.

I ditch the construction layers, save as a new file, resize from 4000 x 5000 pixels to web size and then I add the word balloons and dialog. I save the final result as a .PNG.

These are the layers I use. ("FG copy" is just a correction layer that I didn't bother to rename to "corrections") Most people use A LOT more layers. Usually for their colouring stages, but some folks use even less.

Now from what I'm reading you're using a phone app? They lack the finesse of a full desktop program like Adobe or Clip Studio, but regardless the steps taken should be quite similar.

I used Medibang and Ibis Paint and... they annoyed me less than the other options thanks to palm cancellation.

I work on different layers, usually:

Sketch - Base color - Lineart - Shadows - Light - Effects

I use Clip Studio Paint Pro, you can use it if you are a phone user. Yet I would recommend trying other softwares such as Krita, Ibis Paint, Medibang Paint Pro, Tayasui Sketches or well, any other one that allows several transparent layers.

The reason why the white re-appears could be that you're saving in JPEG or you're not marking as non-visible the layer on bottom of everything with the white color before saving it as a PNG. There was a specific way to get transparent backgrounds in SAI too, so maybe your app requires specific steps too.

I can recommend the app Autodesk Sketchbook, it used to be a montly paid app and
it´s free now. It´s super easy to use and very convenient to work with.

The render part is just like the others explained, you have a sketch layer and an ink layer
or whatever you use for rendering. I usually just ink and color on 2 different layers. Sometimes
I use an additional layer for shading

I used to skip the sketch part when I was young because I didn´t know what a sketch was
and I thought that all comic artists would just start with the final render